Several people have asked for my hot sauce recipe. Because I had never written it down, I couldn’t give it to them. Here’s my attempt to document the recipe and process.
The recipe below evolved over the thirteen years or so I’ve been making fermented pepper sauces. Last season, I had to actually stop and write things down, measure rather than eyeball, to come up with something that approximated the sauces that go into the bottles here at Robertson Farms.
But then hot sauce is like making barbecue sauce. None is as good as your own and you keep tinkering around to get it just so.
So what I offer here is a starting point. Your hot sauce will not be the same as mine. Taste will vary based on your peppers, the combination of varieties you use and even the local bacteria that start the fermentation process.
The cool thing is that you just need to put the ingredients together, then stand back and let mother nature take over. In two to three weeks you will have the start of some great pepper sauce.
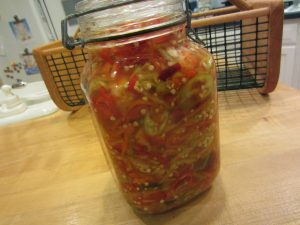 A word about fermentation. You will find many pepper sauces that don’t use fermentation. To me, those sauces are bland, with little pepper flavor and just straight heat. The fermentation process changes the starches in the peppers into sugars and deepens the flavor profile. Fermented pepper sauces have that characteristic sour flavor you’ll find in fermented foods, like sauerkraut, dill pickles and sourdough bread.
Another word about added flavorings. In my humble opinion, if you ferment your pepper sauce you don’t need other flavors like garlic and other herbs and spices. Fermentation brings out the best the pepper has to offer. For me that’s good enough. I use just peppers, vinegar and salt.
Start with Fresh Peppers
Start with fresh peppers. My peppers go from the garden to the fermenting jar in a matter of hours. If you don’t grow your own, go to a farmer’s market after mid-July and you’ll be able to get what you need.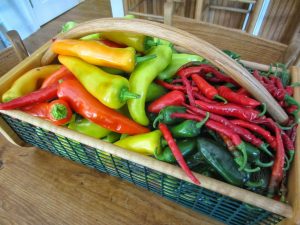
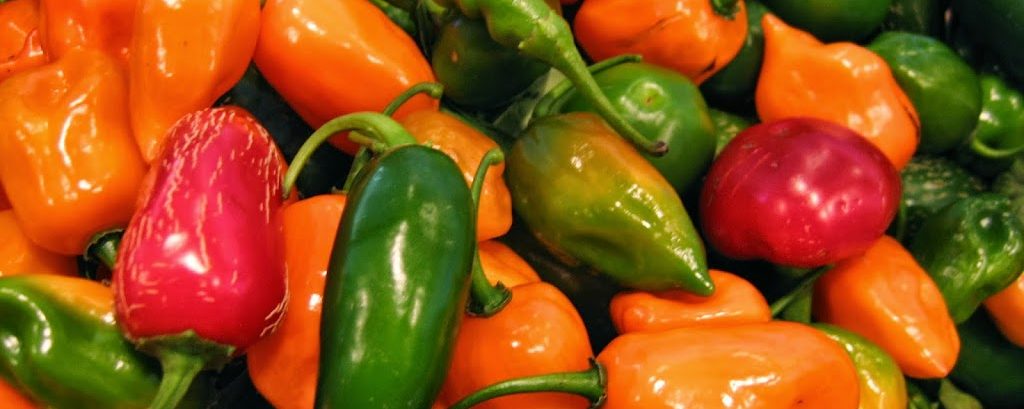
Use a mix of peppers. I have tried doing single variety pepper sauces, but find that a mixture gives better flavor profile. Cubanos, Hungarian yellow, cayenne, kung pao, habanero, scotch bonnet, jalapenos, Super Chili’s(c) all make good sauce peppers.
The exact mixture varies from year to year for me, depending on what’s available at the garden center when I plant, and what does well that year. By growing a variety of peppers, you can adjust the heat level. Last year I did three different sauces with three levels of heat, depending on the blend. More habaneros for heat, more Cubanos for a milder sauce.
Shred the Peppers
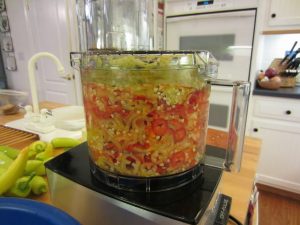
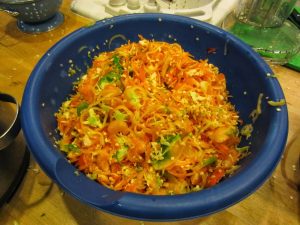
Harvest your peppers, wash them and remove the stems. Then shred them with a food processor with the slicing attachment. Wear latex or Nalgene gloves for this!
I tend to keep different varieties of the peppers separate at this point, ferment them separately and then blend when I get to the sauce-making stage.
Once all your peppers are shredded, add canning salt to the peppers at a rate of about 1/4 cup per half gallon of peppers and mix it in well.
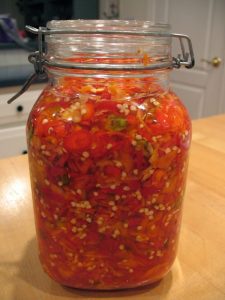
Pack the salted peppers tightly with the resulting juice into a half gallon jar. Leave a least an inch of space at the top of the jar to allow for expansion as the fermenting process starts. Be sure that the top of the peppers are completely covered by their juices. If not covered, mold will develop on the exposed peppers. To keep the peppers under the juice, I weight mine with a glass disc you can buy at kitchen stores that tells you when water is boiling.
Add Brine if Necessary
If the peppers do not produce enough juices themselves to cover the top-most peppers, mix up a brine with one 1/4 cup canning salt and 1/4 cup of white vinegar to one quart of water (distilled or spring water) and use this to top off the jar, leaving a one inch head space. The acidity of the vinegar helps to keep mold at bay. You’ll find that adding brine is necessary with peppers that have little water content, like cayenne. Meatier peppers usually produce all the juice needed to cover the peppers.
Put a lid on the jar, but don’t tighten it down. Your peppers and the lactobaccilli that naturally occurs will produce carbon dioxide that needs to escape. Place the jar out of sunlight in your kitchen or in a closet.
Let Fermentation Begin!
Now let Mother Nature go to work.
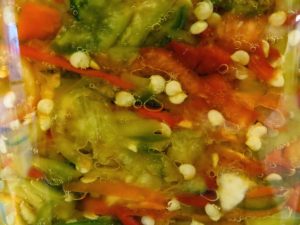
Within a day or so, you will notice bubbles forming in the pepper juice brine as the fermentation process begins. Check it at least daily to be sure it doesn’t bubble over the jar top, and that the peppers remain beneath the brine level. If mold (a grey-whitish film) forms on any peppers above the brine, take them out with a spoon immediately and discard.
When is Fermentation Done?
I let my peppers ferment for two to three weeks. How do I know when they are done? You’ll notice that the bubbles in the brine stop forming and the brine will get somewhat cloudy. The fermenting time will vary based upon the temperature and how active your local yeast cultures are.
Making the Sauce
When you think your peppers are done fermenting, dump them and the brine into a large stainless steel stock pot. If you are fermenting different peppers separately, keep them separate at this point so you can taste and blend later. It’s important that you not use an aluminum pot. The brine and acid from the peppers will pit the aluminum pot and aluminum will leach into your hot sauce. Not good.
At this point you can use some of the peppers as a condiment on sandwiches and in salads, if you’d like. They have a nice tang and, of course, heat. Put some in a jar with some of the brine, refrigerate to stop fermentation and use as desired. The brine is a “live culture” with lots of lactobacilli and is good for you, or so I’m told.
Back to the sauce…
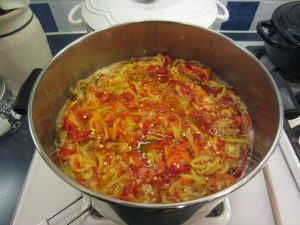
Heat the peppers on the stove over medium heat until the brine comes to a boil and simmer at a low boil for about 15 minutes, stirring occasionally. This will kill the lactobacilli and stop any further fermentation. It also further softens the peppers for sauce-making.
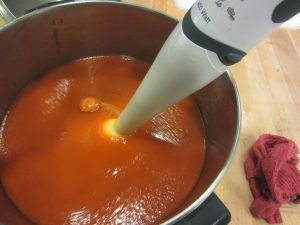
With a stick blender, mix and emulsify the sauce. Check the consistency and add more vinegar, as necessary. Use the stick blender again to thoroughly mix and emulsify the sauce.
If you are planning to blend several batches of fermented peppers, now is the time to do it. Taste the sauces and decide what variations you like best. Mix and use the stick blender to bring it together.
Bottling the Sauce
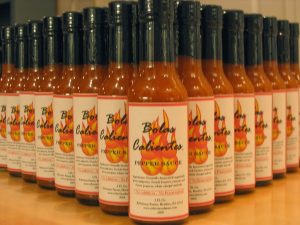
 I use five ounce “woozy” bottles for the sauce. I get these from an Internet company Fillmore Container Company in Lancaster, PA. They have great prices and everything you’ll need. If you live nearby, place an order online and pick it up to save shipping. In addition to the bottles, you’ll need the plastic fitments (orifice reducers) for the top of the bottles, caps with plastic liners and the shrink seals for the tops.
 You’ll need the following additional items to bottle:
- A pair of tongs to fish hot bottles out of boiling water;
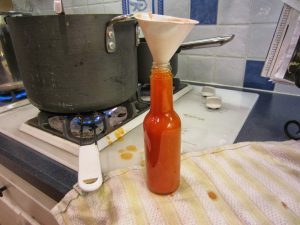
- A small funnel that fits into the tops of the bottles to fill them with the hot sauce;
- A small ladle (preferably stainless steel) to transfer the hot sauce from the stove to the bottles.
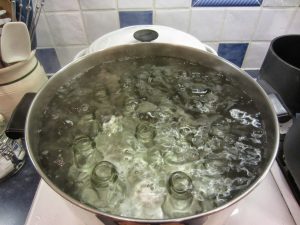
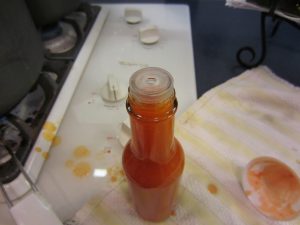 Wash your bottles with hot soapy water and rinse, or run them through the dishwasher on a hot cycle. Place the bottles in a large pot, cover them with water and bring the water to a boil for fifteen minutes. Keep the bottles in the boiling water until ready for use. Sterilize your ladle and funnel along with the bottles. Take the plastic fitments for the top of the bottle and heat in water in a small pan to just below a boil and keep them at 180-200 degrees until ready to use.
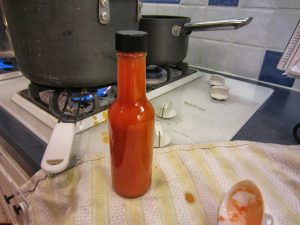
Meanwhile, heat your hot sauce to a simmer on the stove and keep it between 180 and 200 degrees. Wash your hands and you’re ready to bottle.
Set up a work area adjacent to the stove and place a dish towel onto which you can rest the hot bottles. The towel keeps the hot bottle from skidding. Have the empty box that the bottles came in nearby.
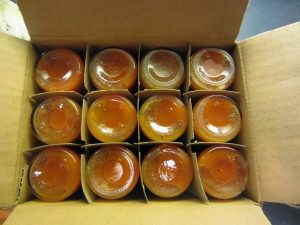 Take a hot bottle with your tongs from the boiling water and set it on the towel. Insert the funnel and fill the bottle to within a half inch of the top. Take one of the fitment’s for the top from the hot water with your tongs and place with your fingers on the bottle. Screw one of the lids onto the bottle and invert the bottle cap-down into the empty bottle box so that the hot sauce sterilizes the inside of the cap liner.
When the bottles have cooled, wipe them down with a damp paper towel to remove any hot sauce that has gotten onto the outside of the bottle. Place a shrink seal over the cap and shrink it with a heat gun. Label the bottles with the date and your hot sauce name. Plain Avery name tag labels seem to fit the bottles perfectly when placed vertically, and they can be printed on an inkjet printer.
Sauce bottled this way will keep unopened in a cool place for about a year, maybe more. I keep opened bottles in the cupboard at room temperature, but they get used up quickly.
Looking for you pepper sauce,where do you market it?May I order it directly from you?